Easy-to-Peel Hard-Boiled Eggs [The Trick!]
![Easy-to-Peel Hard-Boiled Eggs [The Trick!] Easy-to-Peel Hard-Boiled Eggs [The Trick!]](https://www.elizabethrider.com/wp-content/uploads/2020/05/2-3-151x151.png)

Looking for the perfect easy-to-peel hard-boiled eggs recipe to make deviled eggs?
Watch this video to learn how to make the shells practically fall right off of your hard-boiled eggs! 👇 Or, keep reading below…

After a lot of trial and error, I finally figured out the secret to making the shells fall right off of hard-boiled eggs. No more tiny shell pieces or hard-to-peel eggs!
Let me be the first to tell you… we’ve all been led astray on how to boil eggs.
Who else has been told to put the eggs in a pot, cover them with an inch of cold water, then bring them to a boil? Yeah, me too. But that’s where we’ve been doing it wrong.
Follow this process on how to boil eggs on the stovetop (you can also watch this recipe on YouTube or print it in the recipe card below) and I guarantee you will have the easiest-to-peel hard-boiled eggs you’ve ever made. You can also make hard-boiled eggs in the Instant Pot if you prefer.
#1: Easy-to-peel hard-boiled eggs are the result of a boiling hot start.
I think this “cold start” egg myth came from the fact that potatoes actually do need a cold start. When you give potatoes a cold start—meaning that you put the chopped potatoes in a pot, cover by an inch with cold water, then boil—you wind up with a better texture and a more even cook. (Tuck that away for the next time you make mashed potatoes!)
Because this cooking method is tried and true for potatoes, people have assumed the same with eggs. But that’s not the case! To make sure your hard-boiled eggs turn out perfect, you want to boil the water first, then reduce it to a simmer and gently lower in the eggs.
#2: Making easy-to-peel hard-boiled eggs requires shocking them in cold water.
After 13 minutes at a low simmer (not a boil—see full method below & read the tips to prevent cracking), immediately put the eggs in ice water to make them easy to peel. Shocking them in ice-cold water stops the cooking process.
This not only yields more tender whites and a perfectly cooked yolk (no weird dark lines here), it immediately cools the eggs which makes them easier to peel.
My friends over at one of my favorite blogs, Serious Eats, go into the science of it, but you can just trust me that it’s true.
You can shock them in a bowl of ice water like I do in this video, or if you’re feeling brave strain the hot water from the pan and add ice and cold water to cover the cooked eggs (but you might crack them this way).

#3: Easy-to-peel hard-boiled eggs require a specific cooking time.
You don’t want to boil the eggs for the full 13 minutes or they will be over-cooked. The best method is to bring the water to a full boil, carefully lower the eggs in (a fine mesh strainer or spider-skimmer works well), cover the pot, keep the heat on high for 30 seconds.
After 30 seconds, turn the burner to low and allow them to very gently simmer. Trust me, this is essential.
None of these tips really take much effort—and trust me—it’s worth it for shells that practically fall right off the eggs.
In summary, boil the water first, reduce it to a very gentle simmer, gently lower the eggs and cook for 13 minutes, then shock them in an ice bath at the end to make perfect, easy-to-peel hard-boiled eggs.
BUT, there are still a few mistakes that will mess up your easy-to-peel hard-boiled eggs.
What about making a tiny hole at the top of the egg?
In my experience, making that tiny hole in the shell with a thumbtack actually does help—but only a little. If you don’t have a thumbtack handy, you don’t need to drive to the store to get one just to make easy-to-peel eggs.
However, if you already have one, use a thumbtack to make a tiny hole at the top of the big end of the egg before boiling (gently press and it will go right through the shell). The shells will be that much easier to peel.
There are other methods out there that call for salt or vinegar in the water. I tried both (multiple times!) and didn’t find that either trick made a difference. So, save your salt and vinegar for other recipes.
Tips to Prevent Cracking
Post update: Since publishing this blog post last year, it’s quickly become a top Google search result. And, while an overwhelming majority of you have commented that this method works perfectly, a few of you have commented below that your eggs cracked.
This can be for two reasons:
Mistake #1: The pan is either crowded or it’s too big.
Be sure to not overcrowd the pan. Your eggs need a little room to groove. They should not be on top of each other. There needs to be enough room to allow a single layer of eggs in your pan while they cook, but not so much room that they’ll roll around. Watch this video to see how to choose the right-sized pan.
If they crack while cooking, it may be because they are too crowded.
Mistake #2: Super fresh eggs crack more easily.
And finally, don’t use super fresh eggs for your hard-boiled eggs.
This is probably the only time in the kitchen that day-of fresh isn’t best. Shells like to really stick to just-laid eggs. If you have your own chickens or buy directly from a farmer, use those eggs for a glorious scramble or poach ’em up.
If you buy your eggs at the grocery store, they’re already a few weeks old so they’ll work great. In the US, eggs are refrigerated because they are power-washed before packing. Of course don’t use expired eggs.
No need to bring them to room temp; you can use this method with eggs straight out of the refrigerator.
How long do you boil eggs?
The general rule of thumb to make hard-boiled eggs is to (simmer) them for 13 minutes. A roaring boil can crack your eggs, so yes, first bring the water up to a boil, then let the eggs simmer for 13 minutes before transferring them to an ice bath. You can also turn off the heat and cover the pot with a lid for 13 minutes to trap in the heat.
The size of the eggs can also be a factor. Smaller eggs might take 11-12 minutes, while extra large eggs might take 14. I always simmer for 13 minutes and they always turn out great.
Depending on how you want your yolk:
- Hard-boiled yolk: 13 minutes
- Medium soft yolk: 9 minutes
- Soft yolk (a soft-boiled egg): 6 minutes
After boiling, let the eggs sit in the ice bath for at least 15 minutes, then peel them or refrigerate them (unpeeled) for up to seven days.
The ice bath quickly cools the eggs, which prevents them from overcooking and prevents the dark ring from appearing on the outside of the yellow yolk. The ice bath also helps the shell separate, making them much easier to peel.
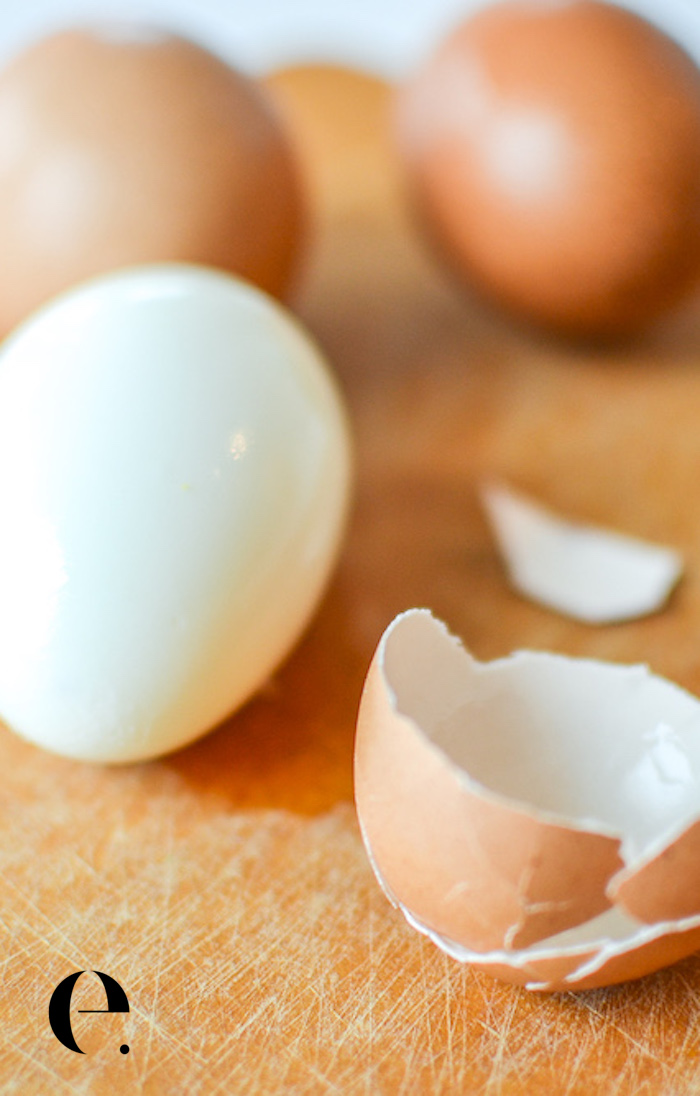
To peel, gently tap the egg at the big end first, then the small end, then all around.
I prefer not to roll them because it’s easy to break the white. Just gently tap all around to crack the shells everywhere and they will peel with ease.
Need to learn how to make deviled eggs? You can do that right here with my deviled eggs tutorial.
Description
This easy-to-peel hard-boiled egg post is a #1 Google search result for a reason–it works! Read the recipe notes below to prevent your eggs from cracking. If you love this recipe, give it a 5-star rating in the comments below to help other readers.
One reader recently commented, “I deployed your method just yesterday and the results were stunning! Not only did the shells just “slide” away – the eggs were gorgeous.”
- Eggs (obviously!)
(Super fresh eggs crack easily, so try to use “older” but not bad eggs. Read the notes below.)
- Bring a pot of water to a full boil. Use an appropriate-sized pot that will fit your eggs. I use a 2.5-quart pot for six eggs.
- If using, use a thumbtack to make a tiny hole at the top of the big end of the eggs. (See note.)
- Gently lower the eggs into boiling water. A fine mesh strainer or spider-skimmer work well for this.
- (Tip from a reader comment: “I took my boiling water off the burner and let it settle a moment and then gently lowered my eggs. Worked great! I had several broken eggs on my first batch when I put the eggs in while the water was at a rolling boil. Hope this helps someone because this recipe is a game-changer!”)
- Boil on high for 30 seconds, then turn the burner to the lowest setting for a very gentle (not rolling) simmer. Cover the pan with a lid and wait 13 minutes. (It’s ok if the water doesn’t come back up to a rolling boil for the 30 seconds.)
- Put the eggs in an ice bath. You can do this by filling a separate bowl with water and ice, and transfer the eggs, or, gently pour the water out of the pan without cracking the eggs, then fill the pan with cold water and ice. The first way, with the bowl, is easiest to prevent accidentally cracking your eggs while they are hot.
- Leave the eggs in the ice bath for 15 minutes.
- Peel, or store in the refrigerator unpeeled for up to three days.
- To peel, gently tap the egg at the big end first, then the small end, then tap all around to gently crack the shell. Be amazed at how easy they peel.
Notes
Tips to prevent cracking:
- Tip to prevent cracking #1: Be sure to not crowd the pan. Your eggs need a little room to groove. They should not touch or be on top of each other. There needs to be enough room to allow a single layer of eggs in your pan while they cook. If they crack while cooking, it may be because they were too crowded.
- Tip to prevent cracking #2: Don’t use super fresh eggs for your hard-boiled eggs. This is probably the only time in the kitchen that day-of fresh isn’t best. Shells like to really stick to just-laid eggs. If you have your own chickens or buy directly from a farmer, use those eggs for a glorious scramble or poach ’em up. If you buy your eggs at the grocery store, they’re already a few weeks old so they’ll work great. In the US eggs are refrigerated because they are power-washed before packing. No need to bring them to room temp, you can use this method with eggs straight out of the refrigerator.
- Make sure you have a single layer of eggs in the pan. If you try to stack eggs or stuff more in the pan that fit, the water won’t be hot enough to cook the eggs. I use a 2.5 quart pot for six eggs, which is about 6.5 inches in diameter.
– In my experience, making that tiny hole in the shell with a thumbtack actually does help—a little. If you don’t have a thumbtack handy, you don’t need to drive to the store to get one just to make easy-to-peel eggs. But, if you do have one, use a thumbtack to make a tiny whole at the top of the big end of the egg before boiling (gently press and it will go right through the shell). The shells will be that much easier to peel.
– Unpeeled eggs can be stored in the refrigerator up to 7 days. I suggest storing them in an airtight container to prevent odor in your refrigerator.
Keywords: hard boiled eggs, easy to peel eggs, best hard boiled eggs
Looking to use your easy-peel eggs?
Check out a variety of deviled eggs recipes:
Or, use your easy-to-peel hard-boiled eggs for a delicious egg salad:

Chive & Dill Egg Salad Recipe (Amazing on Sandwiches!)
This is my all-time favorite egg salad recipe for sandwiches. It comes together in about 10 minutes if you already have hard-boiled eggs, and less than an hour if you need to boil the eggs. The fresh dill really makes it, so use it if you can find it. If you don’t have any fresh herbs on hand, this egg salad recipe is still great. If you like it, please leave a star rating in the comments to help other readers in our community.
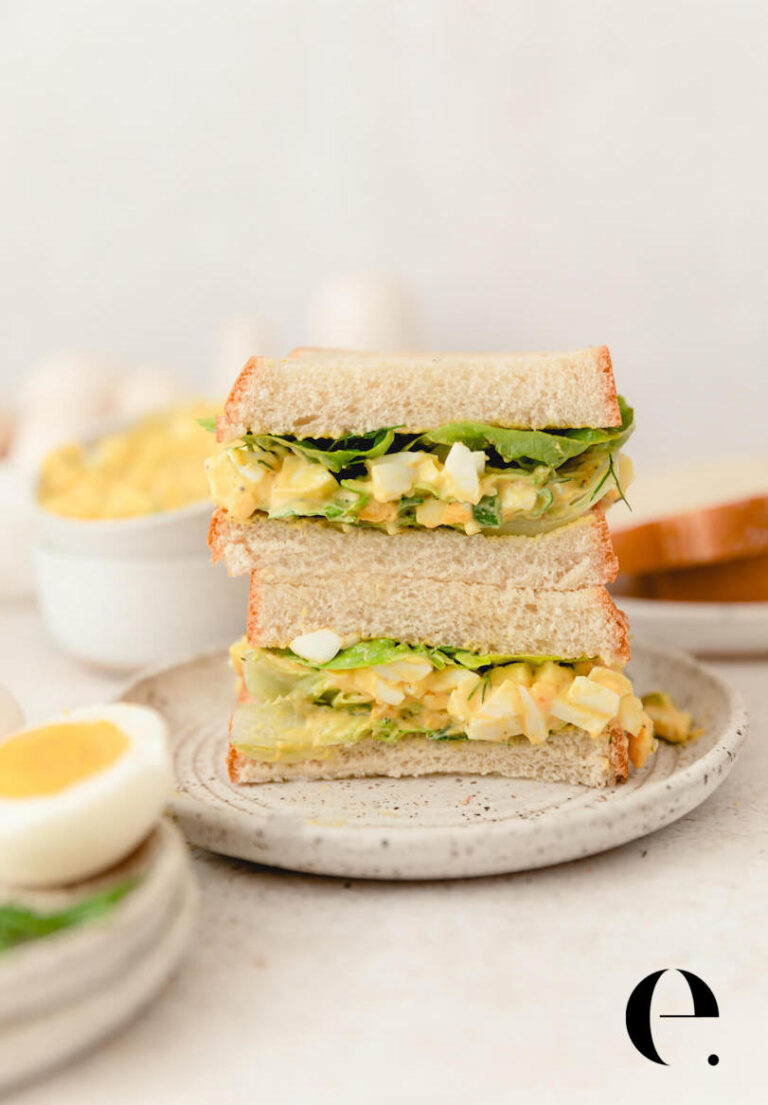
How to Make Egg Salad for Sandwiches
Once you learn how to make egg salad you’ll always have an easy meal a few minutes away. If you already have hard-boiled eggs it takes just 10 minutes and is easy to make and beyond satisfying. Serve it on toasted bread for a healthy lunch or serve it alongside crackers for the perfect appetizer.
What do you think? Have you tried this method or others? Let us know how they turn out in the comments below.

