Gluten-Free Sugar Cookies Recipe


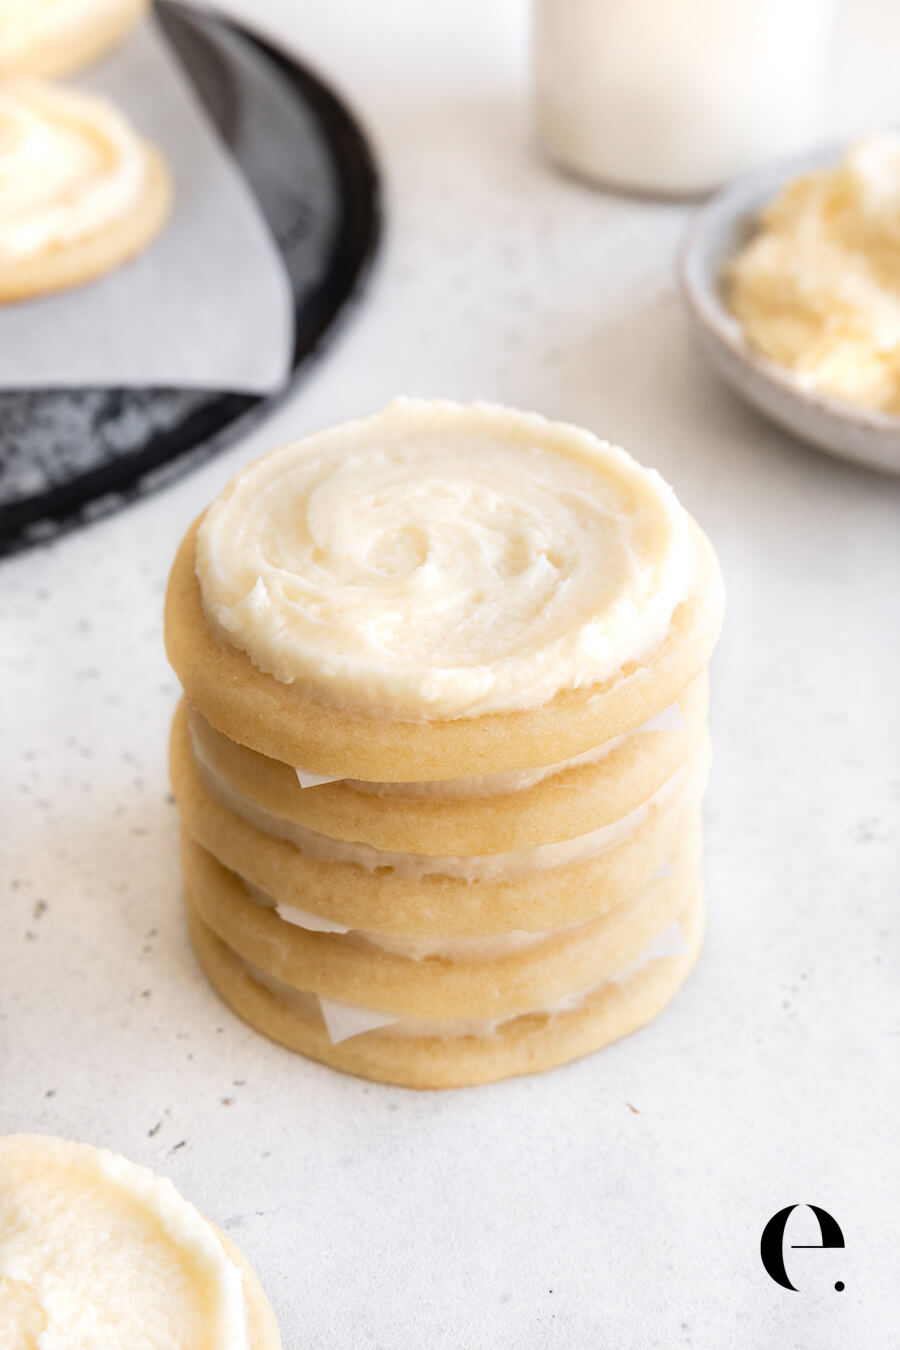
Gluten-free Sugar Cookies are here! This recipe is delicious, and it can be made dairy-free, too.
I know that just reading the title of this post will make most people turn up their noses. Ha! The joke’s on them because these gluten-free, dairy-free sugar cookies are actually delicious and really do taste like a traditional recipe.
Frosted sugar cookies have always been my favorite. I usually go for salty treats—hellllo truffle fries—but I just love a soft sugar cookie with vanilla frosting. Simple and sweet.
Now let me be clear, gluten-free sugar cookies are not a “health food”—they’re still a dessert!
But, if you’re like me and avoid dairy and gluten but know that you’ll want a cookie or two around the holidays or a special occasion, these make for a great option.

This sugar cookie recipe is gluten-free, dairy-free, and delicious.
Spoiler alert: This is just my mom’s traditional recipe with a few ingredient substitutions. Gluten-free and dairy-free cooking doesn’t have to be challenging, simple substitutions can add up to big results.

Gluten-Free Sugar Cookies Ingredients & Notes:
- Gluten-Free All-Purpose Flour: Look for a gluten-free flour labeled “All-Purpose.” Most will be a blend of rice flour and naturally derived xanthan gum. Rice flour cannot be substituted one-for-one with wheat flour, so you’ll need an all-purpose blend. I use the organic Namaste brand Perfect Flour Blend that I found at Costco at a great price. I look for blends with the shortest ingredient list. Bob’s Red Mill also makes a good gluten-free blend, and Cup-for-Cup is fantastic if you can find it.
- Butter substitute: When it comes to vegan butter/shortening/sometimes called vegan margarine, I always use the Earth Balance brand. Earth Balance doesn’t contain any hydrogenated or interesterified oils, preservatives, or emulsifiers found in most margarine and other butter alternatives. It’s a natural option with 0g of trans fat. Do not substitute traditional margarine or shortening (like Cristo) as both are hydrogenated and contain transfats. Stick to Earth Balance if you can. I use the soy-free option and think it yields a softer cookie (not sure why, though).
- Baking powder: many baking powders contain aluminum, which is a big no-no in the health community. You can find aluminum-free baking powder at most natural foods stores or online. I buy mine (along with most pantry staples on Thrive Market for the best prices.)
- Vanilla extract: believe it or not, some extracts contain gluten as an additive. Look for natural extracts with just a few ingredients. Shopping at your local spice shop is always a fantastic idea. I love the Madagascar Vanilla from the Savory Spice Shop online—their products are the same price as grocery store options, much fresher, and all-natural.
- Room temperature ingredients. I can’t stress this enough: make sure your ingredients are at room temperature, or your final result will not turn out correctly.
- Let the dough rest. I know it’s tempting to roll out the dough as soon as you make it. Don’t. Let it rest for at least 30 minutes in the refrigerator.
- Organic ingredients: People often ask me if organic is really better. It depends on what you’re asking. Sugar is sugar, and organic sugar and non-organic sugar still contain the same amount of, well, sugar. However, organically grown food isn’t sprayed with pesticides and herbicides, so if you can afford it, yes I think it’s worth buying organic ingredients. As always, with organic foods, just do the best you can.
- Eggs: I know some people will ask if there is an egg-free version, but I haven’t tried it. I’ve seen some egg-free sugar cookie recipes, which is just the basic recipe leaving out the egg. The egg smooths the dough and creates a softer cookie, if you want to try to leave it out let us know how they turn out in the comments below. Use organic, free-range eggs when possible.

Tips and FAQ for Gluten-Free Sugar Cookies
- Cookie Dough Tips: Let the dough rest in the refrigerator for at least 30 minutes before rolling it out. This helps improve the texture and makes it easier to handle. Wrap the dough in plastic wrap or parchment paper for storage.
- Gluten-Free Flour Blend: Use a high-quality gluten-free flour blend for the best results. A blend with xanthan gum works well to mimic traditional flour. You cannot substitute almond flour here — nut flours work differently than all-purpose flours.
- Flavor Enhancers: Add a teaspoon of almond or vanilla extract to boost the flavor of your cookies.
- Vegan Sugar Cookies: Substitute dairy-free butter and coconut oil to make these cookies suitable for vegans and those with food allergies.
- Decorations & Sprinkles: Get creative with your cookies by using colorful sprinkles, royal icing, or edible glitter. These are perfect for Christmas cookies and other festive occasions.
- Using a Stand Mixer: For easy mixing, use a stand mixer with the paddle attachment to combine the flour mixture and wet ingredients without overworking the dough.
- Storage Options: Store cookies in an airtight container at room temperature for up to three days. For longer storage, freeze them in a single layer for up to three months.
- Rolling Out Dough: Roll out the dough between parchment sheets to avoid sticking and minimize mess. Use a large bowl for mixing to ensure the incorporation of ingredients.
- Cooling and Frosting: Transfer baked cookies to a cooling rack immediately after baking to prevent overcooking. Let them cool completely before adding frosting or decorations.
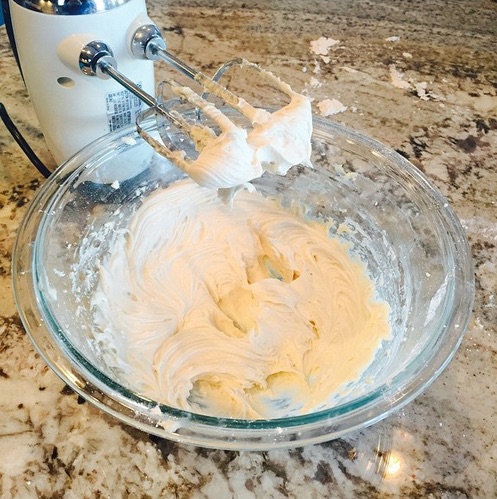
- Let your gluten-free sugar cookies cool completely before frosting. Grab the recipe for my easy Vegan Vanilla Buttercream Frosting here – it’s only four ingredients and perfect for these cookies. You can of course use regular buttercream or any frosting you want if dairy-free/vegan isn’t a concern for you.
- Gluten-Free Dairy-Free Sugar Cookies: For a dairy-free option, use organic cane sugar and a plant-based milk alternative, such as almond or soy milk.
- Nutrition Note: While these cookies aren’t a health food, choosing gf flour blends and organic ingredients can reduce inflammation for those with sensitivities.
- Click to See Examples: Need inspiration? Click to see examples of beautifully decorated cookies perfect for any occasion.
- Freezer-Friendly Cookies: Freeze unfrosted cookies or the cookie dough to bake fresh whenever you want free cookies ready for decorating.


You can store these cookies at room temperature for up to three days, in the refrigerator for up to 10 days, or freeze them for up to three months.
Description
Gluten-Free, Dairy-Free Sugar Cookies taste just like traditional sugar cookies! We love to make these on special occasions—no one has to know they’re gluten-free and dairy-free. If you like them, please leave a star rating in the comments to help other readers in our community.
Dry ingredient mix:
Wet ingredient mix:
- In a medium mixing bowl, gently combine the dry ingredients, being careful not to compact the flour. When measuring the flour, spoon it into the measuring cup and level it with the back of a knife instead of scooping it with the measuring cup, as scooping it will compact the flour and create too dense of a cookie.
- Cream together the wet ingredients with the granulated sugar in a separate (large) bowl.
- Add the dry ingredients to the wet ingredients in thirds, mixing each third in well before adding more. I use a hand mixer for this, but you can do it by hand with a rubber spatula or wooden spoon if needed. A large dough ball will form once all of the ingredients are combined. Kneed it with your hands if necessary to form it into a ball.
- Cut the dough ball in half and wrap each half in parchment paper (not wax paper, which is different). Working in halves just makes it easier to roll out. Chill in the refrigerator for 30 minutes, and up to 24 hours.
- When you’re ready to bake the cookies, preheat the oven to 375° F and remove the two dough balls from the refrigerator, and let it sit at room temperature for 10 minutes, which will soften it a little and help it roll out.
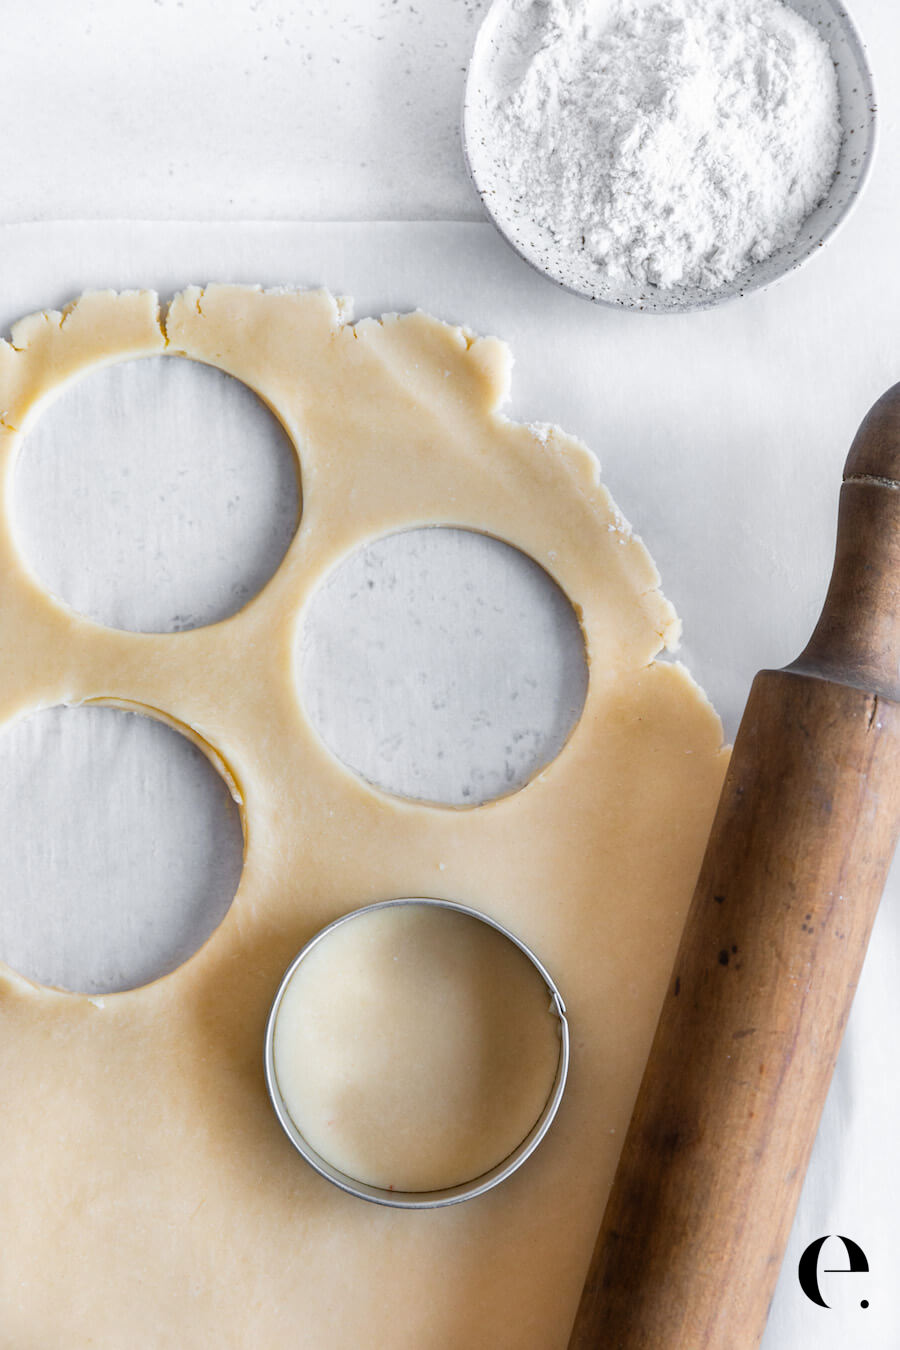
- There are two methods you can choose from to roll out the dough. I prefer to place the dough between to pieces of parchment paper (again do not use wax paper as it will melt in the oven). I use parchment paper 1) so I don’t have to use extra flour to roll out the dough, 2) so I don’t have to grease the baking sheets, and 3) for easy cleanup! You can bake the cookies right on the bottom piece of parchment paper and just put the cookie trays away once they’ve cooled. If you prefer the more traditional method, use your gluten-free flour to flour your work surface and rolling pin, then roll out your dough per normal. Either method you choose, roll out your dough to about 1/8 of an inch in thickness. Thicker dough will yield a softer cookie, and thinner dough will yield a crunchier cookie.
- Use a cookie cutter to cut your dough into any shape you like. Or, use the top of a pint glass to make round cookies. When cutting the dough, get your cookie cutter shapes as close together as possible. If you’re using parchment paper, just remove the scraps, and leave the cutouts where they are, and transfer the parchment paper to a baking sheet.
- Bake for 9-11 minutes until the edges are just slightly golden. Try not to let the bottom brown a lot if you want a soft cookie. Remove the baking sheet from the oven, and immediately lift the parchment paper & cookies onto the counter as leaving it on the baking sheet will continue to cook them.
- Let cool completely before frosting. Grab the recipe for my easy Vegan Vanilla Buttercream Frosting from the blog post – it’s only four ingredients and perfect for these cookies.
- You can store these cookies at room temperature for up to three days, in the refrigerator for up to 10 days, or freeze them for up to three months.


