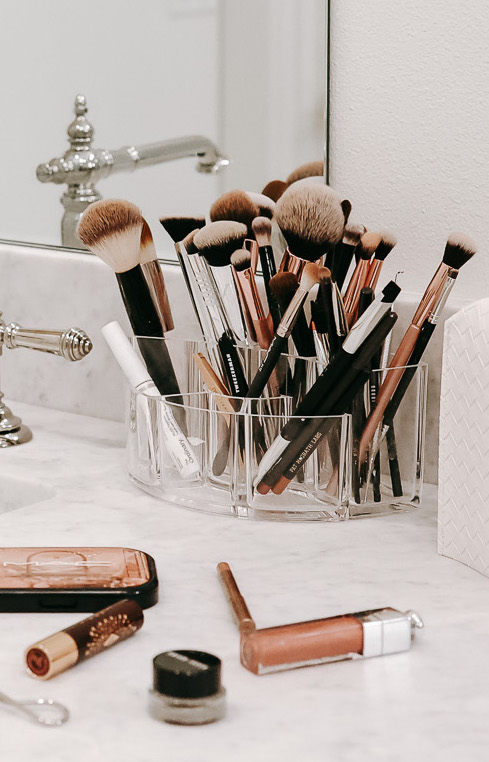
How to Clean Your Makeup Brushes


This is your reminder to clean your makeup brushes!
A study published in the Journal of Applied Microbiology found that dirty makeup brushes can harbor up to 10 million bacteria per square centimeter. Yikes!
Keeping your makeup brushes clean is essential for maintaining healthy skin and achieving a great makeup application.
Dirty brushes can harbor bacteria, oil, and old makeup residue, which can lead to breakouts and uneven coverage.
Here’s a step-by-step process of washing your makeup brushes effectively; just remember to always lay them flat to dry! Drying them vertically can weaken the glue that holds the base onto the handle and prevent the base of the bristles from drying all the way.
Why Should You Wash Your Makeup Brushes?
Before we dive into the cleaning process, let’s quickly discuss why it’s crucial to regularly wash your makeup brushes. Here are a few key reasons:
- Prevent Breakouts: By removing dirt, oil, and bacteria from your brushes, you reduce the risk of clogging your pores and developing acne or other skin irritations.
- Ensure Smooth Application: Clean brushes allow for better color application and smoother blending, resulting in more even and professional-looking makeup.
- Extend Brush Lifespan: Regular cleaning helps maintain the shape and quality of your brushes, ensuring they last longer.
Step-by-Step Guide to Washing Your Makeup Brushes
Step 1: Gather Your Supplies
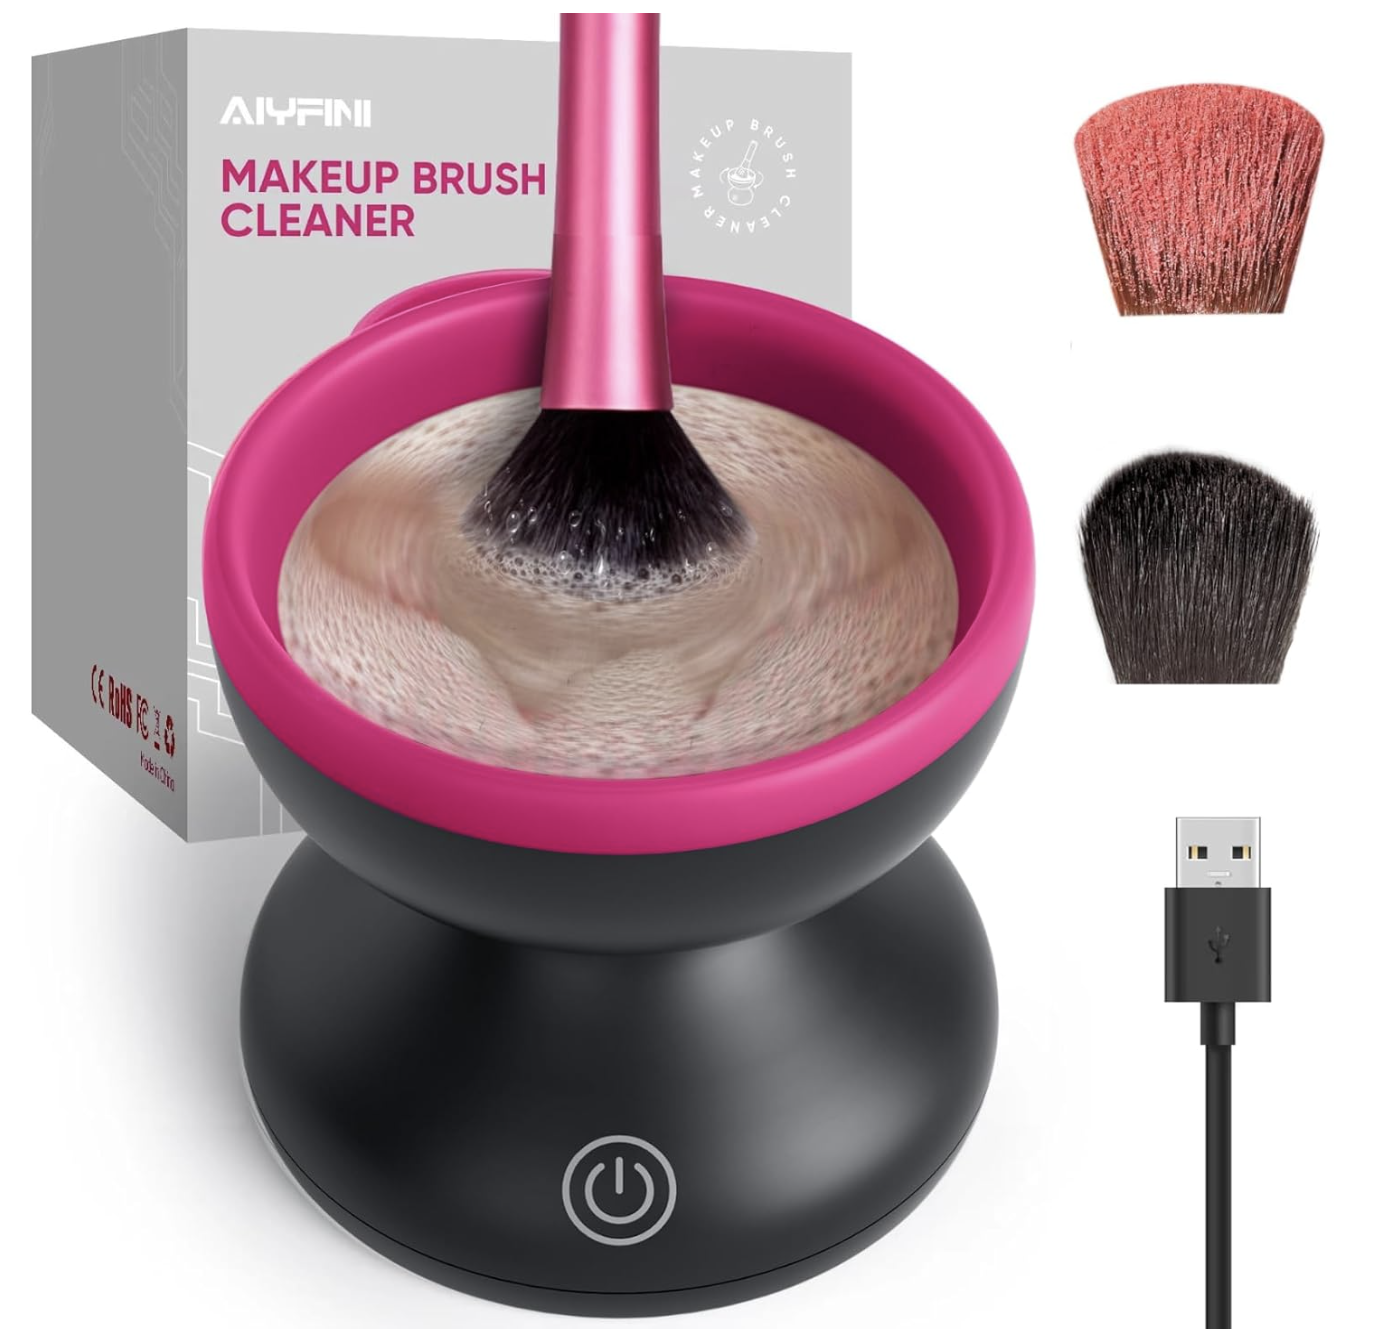
- Mild shampoo, cleanser, or brush cleanser. I often just use my all-natural hand soap or Dr. Bronner’s tea tree liquid soap. You can get a special brush cleaner like this one if you’d like.
- Warm water
- A clean hand towel or paper towels
Step 2: Wet the Bristles
- Begin by running warm water over the bristles of your brush, making sure to avoid wetting the handle or ferrule (the metal part that connects the bristles to the handle).
Step 3: Apply Cleanser
- Squeeze a small amount of mild shampoo or brush cleanser onto your palm or a textured cleaning mat. Textured cleaning mats are great to help scrub your brushes (I’ve used this one, and I’m currently using the one below in the next step.)
Step 4: Gently Cleanse

Here’s a cheaper option:

Step 5: Rinse
- Rinse the bristles under warm water until all soap residue is gone. Be sure to keep the brush pointing downwards to prevent water from seeping into the ferrule.
Step 6: Squeeze Out Excess Water
- Gently squeeze the bristles with your fingers to remove excess water. Avoid pulling on the bristles, as this can cause damage.
Step 7: Reshape and Dry
- Reshape the bristles by gently tapping them against a clean towel or paper towels.
- Then, lay your brushes flat on a clean surface and allow them to air dry completely before using them again.
Always lay them flat! That will allow the water to completely dry from them instead of getting stuck at the base. Water pooling at the base can weaken the glue holding your brushes together.
Step 8: Clean Your Makeup Bag
Now it’s time to clean your makeup bag, too.
How Often Should You Clean Your Makeup Brushes?
Ideally, you should aim to clean your makeup brushes at least once a week. However, I know most people don’t do that. If you’re an occasional makeup wearer, then wash them at least once a month.
If you use your brushes daily or apply liquid products like foundation or concealer, it’s best to wash them more frequently. Regular cleaning will help maintain the integrity of your brushes and ensure optimal performance.
Here’s a link to all of my brush cleaning items:

Taking care of your makeup brushes is an essential part of any healthy beauty routine. By following these simple steps for washing your brushes, you can keep them clean, prolong their lifespan, and achieve flawless makeup application every time. Remember, healthy skin starts with clean tools!


